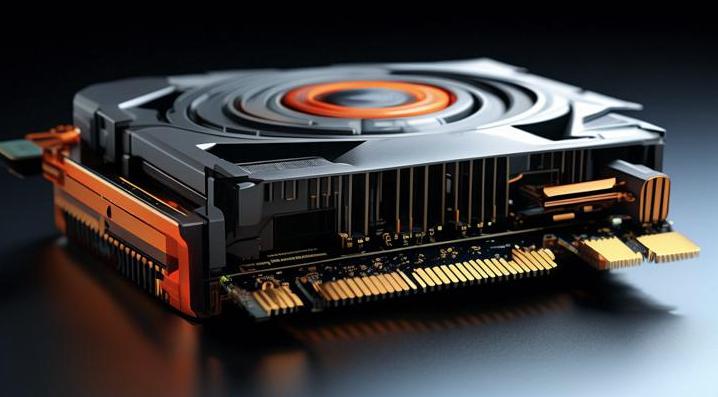
The demand for high-performance graphics continues to surge, driven by advancements in gaming and multimedia applications. However, many encounter the issue of insufficient video card memory. The solution? Adding virtual memory. This article will guide you through the process.
Virtual video memory utilizes hard disk space as a temporary storage area for the video card, effectively expanding its memory capacity. This technique helps graphics cards manage large games or high-definition videos that exceed their memory limits.
Modern games often require hefty amounts of video memory, which can challenge the capabilities of some lower-end graphics cards. Similarly, tasks like high-definition video editing require extensive image data processing. Insufficient video memory can lead to lags or system crashes.
Let's use an NVIDIA graphics card as our example. First, access the NVIDIA Control Panel by right-clicking on your desktop and selecting "NVIDIA Control Panel". Then, click on "3D Settings", followed by "Manage 3D Settings". Scroll down to find "Maximum Memory Limit", where you can adjust your virtual memory settings. Click “Change” under this option to manually manage or automatically regulate your virtual memory size.
When manually setting, you’ll find a slider and input box. Adjust the slider or enter the desired virtual memory size (in MB) into the input field, then click "Apply". Bear in mind that the ideal virtual memory size depends on your specific needs. As a general rule, setting your virtual video memory to approximately 1.5 times your card's total video memory is advisable for average users.
Lastly, save your settings by clicking “OK” and restart your computer to implement these changes. While virtual video memory enhances graphics card performance and capacity, be aware of its limitations. Since it relies on slower hard disk space, there may be performance trade-offs. Moreover, frequent read/write operations could potentially shorten your hard drive's lifespan.